Dave
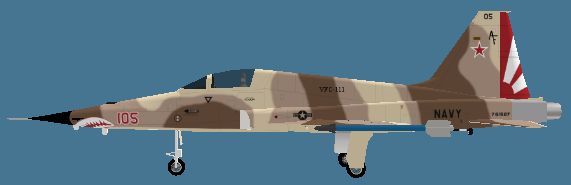
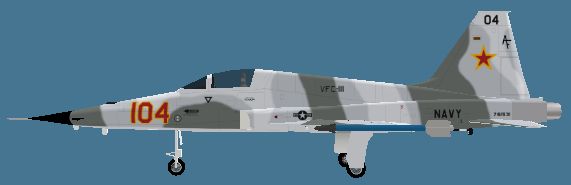
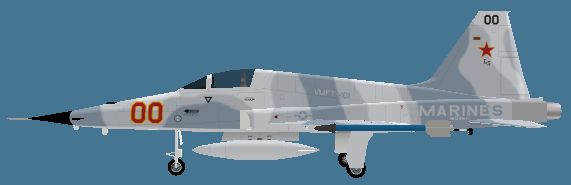
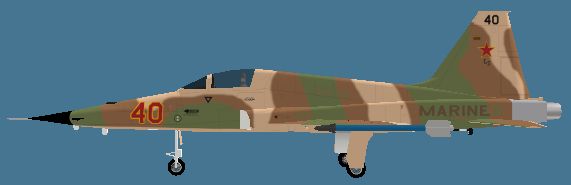
Painting Camouflage Schemes
I use Paint Shop Pro but I am sure the technique will be similar using other paint packages. For the camouflage I use an air brush tool for the edges, I think it gives a better finish to the edges, I will then use a fill tool for the middle and then an ordinary paint brush to fill the gap between the middle and the airbrushed edges.
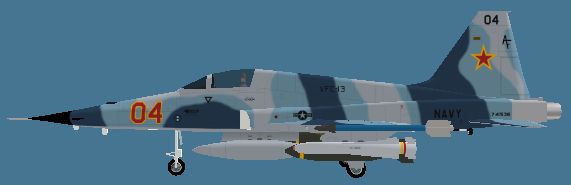
There is nothing clever just a bit of trial an error lining up the various parts. I start off with the whole aircraft painted in what I think is the background colour of the scheme. For each colour for each part of the aircraft I then use a different layer, just in case there is a problem I will only have to delete a little part of the scheme. I normally start with the fuselage as these usually have the best photos and drawings.
First tip, to avoid having paint from one part of the camouflage spilling over onto another part I go to the base part of the paint layer and using the Magic Wand Tool (I am sure Photoshop has something similar). I select the base part, in this case the forward fuselage. This has 2 uses. First the paint I apply will only go on to this part, as I go over the edges the program stops applying paint. Second when I use the fill tool to fill in between 2 edges it will only fill the area I want filled and not the whole texture.

The only area that will be painted is inside the dotted area. So I now create a new layer, in this case for the Fwd Left Hand Fuselage and using the airbrush tool apply paint. As this is the first area to be painted I just refer to photos and drawings to get the paint in the correct place.

Next I use the fill tool to paint most of the area in between.

Finally I use a normal paint brush to fill the edge between the airbrush and the fill.

I then do the same to complete the section. Notice at the rear of this fuselage section I have only one edge but because I used the Magic Wand Tool earlier when I use the Fill Tool it fills between the airbrush section and the edges of the part.
If the camouflage scheme has more than 2 colours then repeat this process and until you have the full scheme painted for this part.


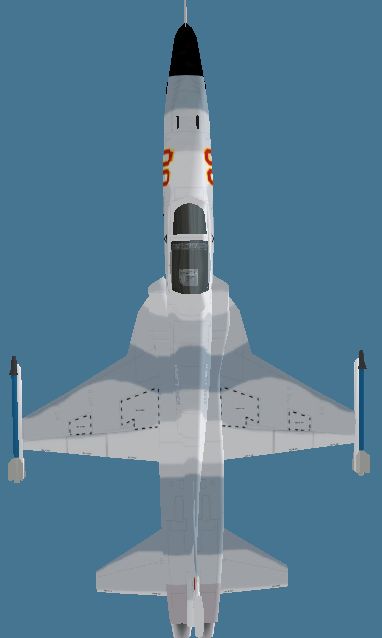
Now it is time to look at what it looks like on the model. For this I use FSRepaint from Abacus. (The free demo version is perfectly adequate, especially as I use DXTBmp to compile the paints later.)

From this you can see that the cockpit nose section will need to be painted green but I have made sure the green from the fuselage section also appears below this section so I just paint the cockpit nose section all green and do not have to worry about lining up here.
So the next part to paint is the LH Aft Fuselage and here the problems start. We need to line up the green at the back of the Forward LH Fuselage with the Green at the front of the Aft LH Fuselage. There are 3 methods to achieve this.
This first involves the use of a full body kit. Some paint kits come with these or you can make your own by working out where the actual edges are and some alignment marks so you can cut and paste from the paint kit to a full body kit. Notice I have also taken some registration marks from the paint kit to the full body kit so I can align the parts when I take the camouflage scheme back into the texture from the body kit. (I have made the background for aft fuselage and tail red to show what is going on.)

In this method you paint the camouflage scheme over the body kit in one go. You then cut out each area, do not forget to make sure you have added the alignment marks in the area you copy, and paste it into the main texture. Position using the alignment marks and trim as required. If all goes well the camouflage lines up perfectly.
The limit for this method is it is only for the fuselage and tail.
The second method which you will use most is trial and error. So create a new layer, in this case the left hand aft fuselage, no magic wand tool yet, and airbrush a line on that is parallel to the line on the back of the forward fuselage. Deliberately make it too long.

Save it and look at in FSRepaint.

Then adjust it’s position until you get it to line up with the forward fuselage.
Important Note: make sure this layer is outside of any groups otherwise you will be moving them as well.

Now trim the line so it only covers the part you are painting.

Now paint the rest of this part as above.
The third method I developed for Henry’s C-130’s. As I have literally painted thousand of these and dozen of camouflage schemes I strategically relocated the registration marks for the forward and aft fuselage sections so I can not only use them to line the Left and Right sides but also the Forward and Aft Fuselage sections. What this means if I copy the camouflage of the forward fuselage section plus the registration mark and move this and line it up with aft fuselage section I know where to start with the aft fuselage camouflage section.

In the above screen shot I have copied the fwd camouflage paint, marked the registration mark, the bright green square, and moved and aligned it with the aft fuselage section. Then all I need to do is create a new layer and airbrush a new line for the aft section using the moved fwd section as a guide. I have used a red line to highlight what is happening.


All you need to do now is delete the copied forward section and continue painting this part. Again of limited use with AI aircraft that normally have 1 texture file but maybe more useful for full aircraft paints with several texture files. I only went to the effort of setting this method up as I had painted several camouflage schemes and was expecting to paint more.
Lastly if the scheme has a different colour for the belly I use the same methods as above for alignment but I use vectors to paint on the fuselage section. The belly will be close to the bottom of the round fuselage and if I use the airbrush here once the texture is placed on this curved section it will look very blurry. You can use a paint brush, I just find it easier to use vectors if the belly paint is mostly straight and only curves where the fuselage goes at the nose and the tail.